


The first step in furniture construction involves transforming the rough timber (cut in a paddock from a fallen tree and then air dried) into flat and square timber. This process is called 'dressing' the timber or because it is often done by machine 'machining'.
Step 1. Jointing
The first step in this process is called 'jointing'. The key concept in this process is to find a surface you know is flat and then you make you timber surface parallel to it. In this process a long bed plane is used to remove the peaks in the rough timber. (The ideal length of the bed is twice the length of your timber so it is supported at all times.)
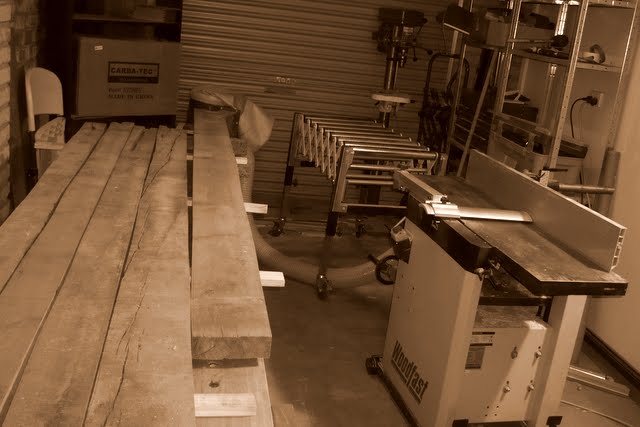
In this set up I am using a 3hp 12" woodfast combo machine set up in jointer mode with a roller outfeed table. The rotating cutter (below the aluminum guard) is beneath a large flat iron surface. Moving the rough timber over this surface removes small amounts of the peaks of the board (~1mm). By repeating this process eventually all the peaks are removed and you end up with a flat surface.

This process can also be done by hand. (The next time you see a piece of very old timber building or furniture, all that timber would have been prepared by hand.) A long hand plane (normally, no 7 or 8) is used to remove the peaks. This requires constant checking to monitor your surface and stay square. (Winding sticks, a straight edge, and a small square are invaluable accessories at this stage.)

Occasionally, you'll have a board that is twisted. Opposite corners will point one way causing the board to rock. If you don't recognize this the board can rock on the jointer which will fail to flatten. The fastest way to fix this is to use a jack plane (no 5) to quickly flatten the corners. Another trick is with cupped or warped boards; always plane the curve concave down so it doesn't rock in the middle.
Phase 2: Thicknessing
After you have jointed two surfaces (a face and an edge) forming one square corner you can move on to thicknessing. Thicknessing is the process of planning the opposite edge making it parallel to the one you just jointed.

Machine thicknessers (see the woodfast combo now in thickness planing mode) uses a cutter head above the piece you are planing to cut a certain distance from your flat surface. If your surface is not flat you simply copy this to the other side.
Step 3: Sawing
Now we have 3 edges square and flat. (If you can balance the thin edge of the board on the thicknesser you can use it to set the width of your board. However, normally this will be too thin do this safely.)

To cut (rip) the width of the board I use my circ. saw and a guide set at the distance required. (This technique is obviously less accurate than a table saw but much faster than cutting it by hand.)
Now you have a board that's square and flat on four sides, also known as 'four square'.
The Shaker Table
The process of dressing allows me to take rough timber which has twisted and warped as it's dried...

...and form beautiful flat and square timber ready for joinery.

.png)
No comments:
Post a Comment